Overlays are an excellent way to visualize what a driver is doing while they’re out on track. Sensors are outfitted on the car to record each of the driver’s primary inputs; channels tracking the angle of the steering wheel, the selected gear, the throttle percentage, and brake pressure are sent through the airwaves from the car on track to the engineers in pit lane, all in live time.
Together with sensors that record car speed, distance, and time, a graph can be created to show the driver’s inputs over the course of a full lap that reads from left to right like a picture book. These overlays can be incredibly useful, and are used in all levels of motorsport from karting to IndyCar.
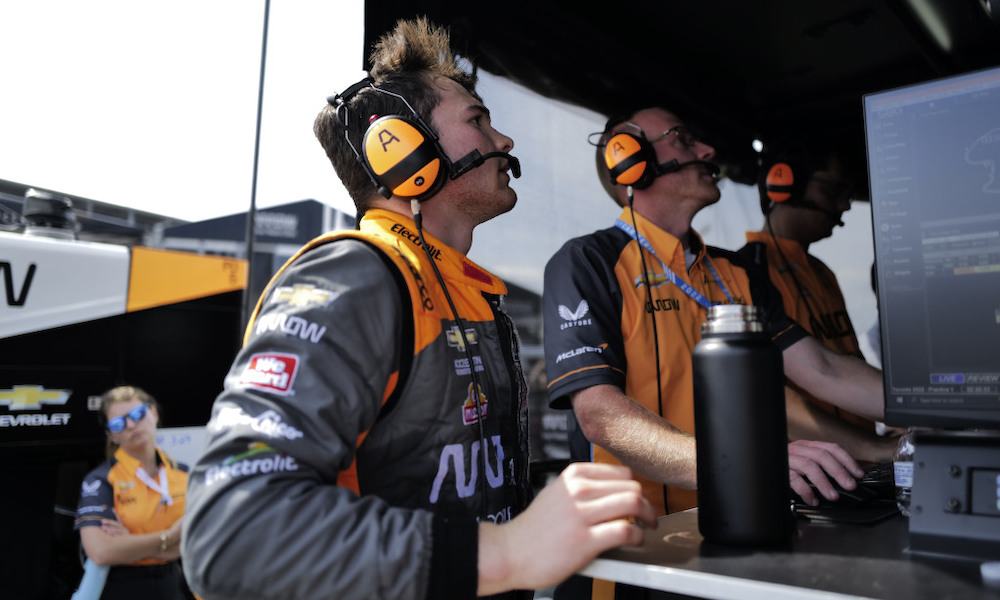
In recent years, broadcasters have begun showing such overlays to help describe to fans what drivers are doing inside the car to try and extract as much lap time as possible. But while it may look like a series of squiggly lines to inexperienced eyes, data like this can actually offer valuable insight to drivers, engineers, and of course fans about the relative performance between two cars. A special thank you to Arrow McLaren for supplying this overlay from a test day at Sonoma a few seasons ago. We’ll call the blue trace Driver A, and the red one Driver B.
These overlays c an highlight where time is being lost or gained when comparing multiple laps that a driver has done, or when comparing fastest laps between a driver against their teammate, as shown here. Overlays can be used by engineers to help coach drivers, determine the balance characteristics of a setup, or offer a real-life target for simulation results to match in order to develop mathematical models. Drivers and engineers are constantly going through these overlays corner by corner to see where the most performance can be gained. So important are these overlays that drivers will even have a tablet with them when they sit in the cockpit between outings so they can review the data and ensure they are making the most out of the precious track time they have in the buildup to a race. There is a lot of information to be learned from even the most basic of overlays.
T11: Understeer to oversteer
One of the easiest ways to identify the balance of a car is to look at the steering trace through a corner. Naturally, a car that tends to understeer will require the driver to add more steering in order to compensate. A car with oversteer will require less steering, but it is common for the driver to have to make corrections with the steering wheel as they deal with the instability. In T11, Driver A looks to have understeer at the mid corner and then oversteer from mid to exit when compared with Driver B. This is actually a very common behavior, typically referred to as “understeer to oversteer.”
In this situation, the root issue tends to be the initial bout of understeer. This is because at the apex, Driver A has much more steering lock than Driver B while he’s trying to get the car to turn. At this point, he tries to add comparable throttle to Driver B, but he still has a lot more steering lock. The result is that the rear steps out, caused by trying to do too much turning and accelerating at the same time (this is actually the same rear sliding that happens when drivers intentionally do donuts). Because the back of the car steps out, Driver A has to make two big corrections, both to the detriment of lap time. He enters the corner 0.04s ahead of Driver B but exits the corner about 0.06s behind.
The cause of understeer can be any number of things, and it’s up to the engineer to determine the best cure. Engineers will have access to a whole host of other channels that can give further information on the car’s balance, and these can help determine whether a change to the aerodynamics, mechanical setup, or driving style is the best way forward. Drivers are able to induce understeer into the car with how they drive: they can carry too much speed at the entry, delay turning in initially before feeding in a large amount of steering angle, pick up the throttle too early mid-corner, or a whole host of other techniques. However, in T11 the understeer does not appear to be driver induced, as Driver A actually brakes earlier than Driver B, has a slower minimum speed at the apex, and a similar steering trace on initial turn-in. From this quick glimpse, it would appear as though Driver A is dealing with an understeer balance.
T2: Entry vs exit
Through T2, the most noticeable difference between Driver A and Driver B is where they are achieving their respective minimum speeds. In this regard, the two drivers have taken different approaches compared to one another. Essentially, Driver B has slowed down to his minimum speed sooner in order to get back to throttle earlier, while Driver A carries more speed deeper into the corner but is later in getting back to throttle. The result for Driver B: trading a time loss on entry for a time gain on exit compared to Driver A.
Deciding this tradeoff comes down to how much time is being lost in one phase of the corner versus how much time is then made back up later on. In this example, Driver B loses about 0.10s from entry to mid-corner (going from 0.06s ahead to 0.05s behind), but because he is able to get back to throttle sooner, he gains 0.21s from mid corner to exit — a net gain overall.
A decision like this tradeoff shown has to be made for every corner on the track, and is highly influenced by what lies beyond the exit of the corner at hand. For a corner leading onto a long straightaway, prioritizing the exit by getting to throttle earlier is critical for overall lap time. For a corner that leads directly into another corner (or a series of corners), compromises have to be made somewhere on braking, throttle, and racing line. Doing so will inevitably prioritize the entries and/or exits of certain corners over others, but when going through driver overlay data, finding the compromise that minimizes overall lap time will always be the priority for the driver.
T3: Rolling out of the throttle
T3 is a two-part corner with practically no braking, just changes to throttle input and steering through a left- and then right-hand section. Once again, Driver A and Driver B have taken different approaches based on the balance of their respective cars. Driver A lifts slightly later, but more drastically while Driver B gradually lifts as he tries to carry more speed through the entry. Both are having to play with various amounts of throttle all throughout the corner; Driver B doing a single late lift while Driver A does two smaller lifts before getting back to throttle earlier.
Through this section, Driver B is gaining all of his time through the left-hand portion before he begins to fully lift out of the throttle. Driver B’s speed trace up until that point shows just how much more entry speed he carries through the left-hander. Despite Driver A getting back to throttle earlier, Driver B has carried enough speed that by the time they both return to full throttle, they have a similar minimum speed. Therefore, Driver B gains 0.08s on entry and loses none on exit.